

Desktop 3D Printing of CT Scan Images

Entry posted by ebaumel ·
8,839 views

This is a time of rapid growth in medical 3D printing. The technology allows us to take an individual patient’s scan information and create physical models, which can be used in any number of clinical applications. The industry standard DICOM image files from CT and MRI scanners can be converted into 3D files, such as STL (for stereolithography) files. These digital models can then be uploaded to a 3D printing service bureau or printed on one of the currently available professional grade printers.The democratization of desktop 3D printers, however, now allows almost anyone with a serious interest in the technology to print models in their own office/workshop. These can be used for educational purposes and for prototyping, and represent an excellent entrée into the technology.
Recently, I started printing 3D models of some of my own patient’s scans using a consumer grade desktop printer. The patient’s CTs were acquired on our Toshiba Aquillion 64 Slice CT scanner using our standard acquisition protocols. The DICOM volume data was then burned to a CD for processing.
For my initial test prints, I used the Materialise Mimics and 3-matic software under their 30-day free trial period.
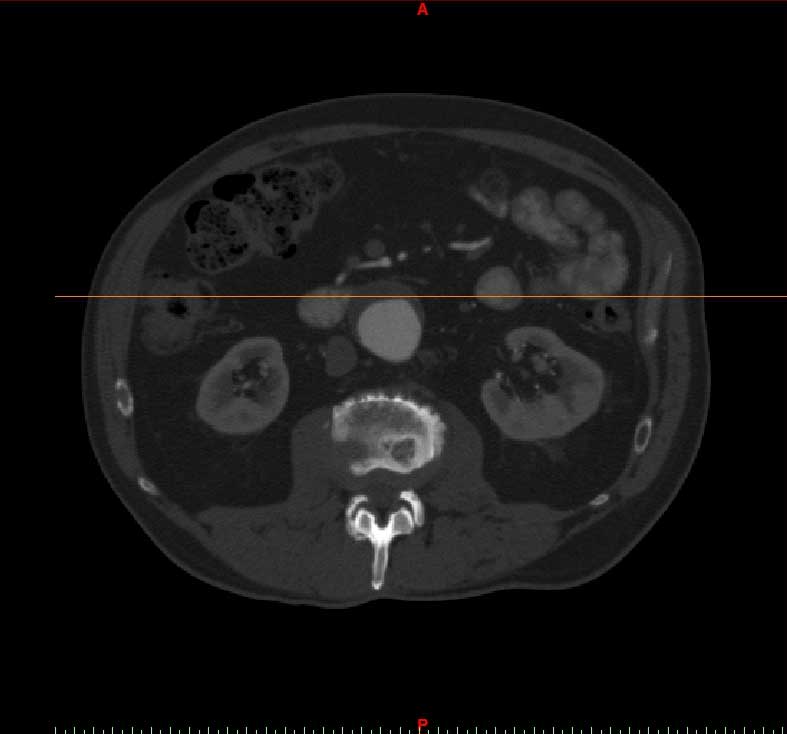
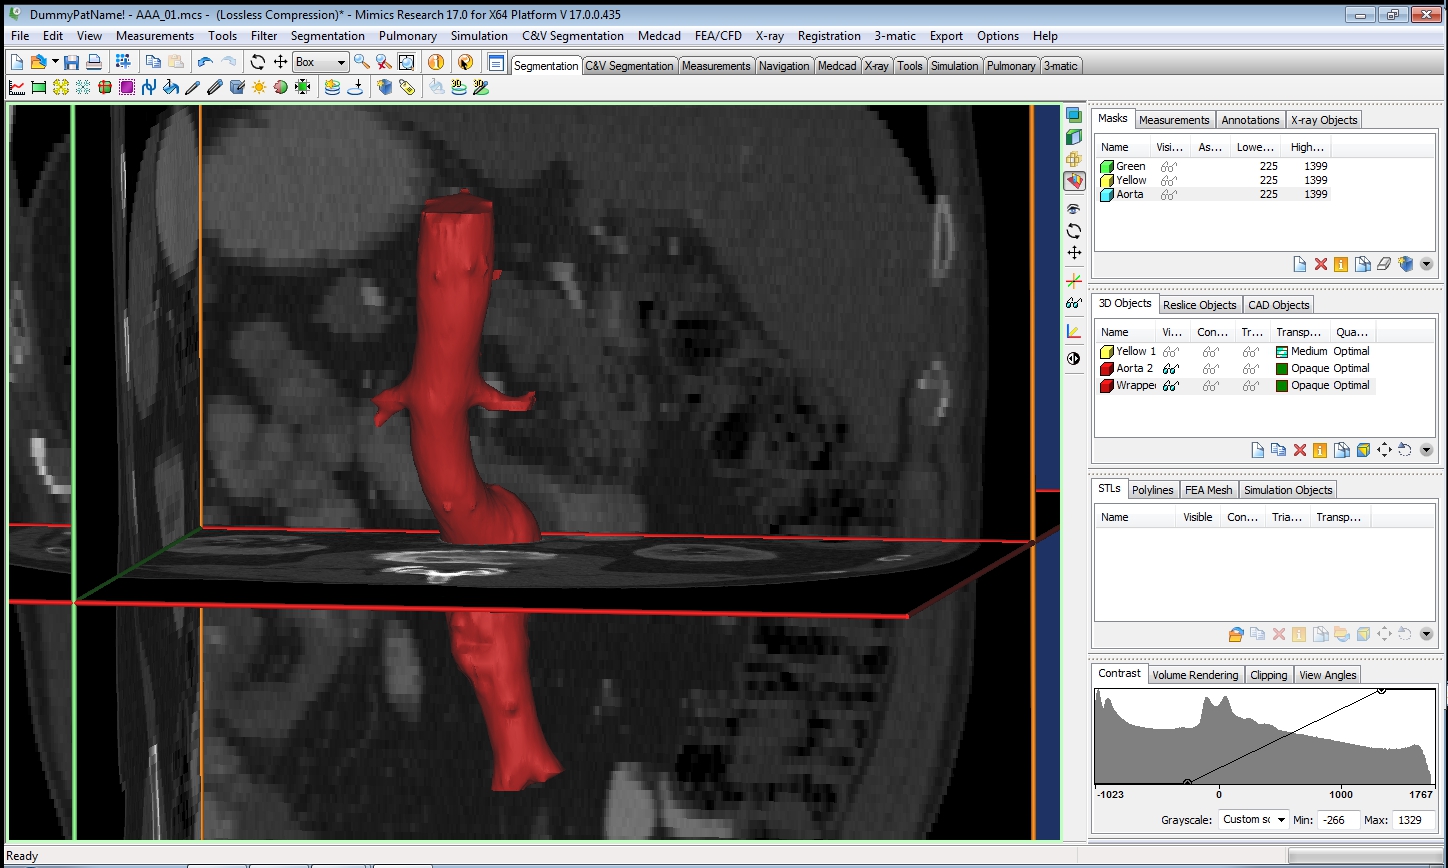
The images from the appropriate volume were imported into the Mimics software.
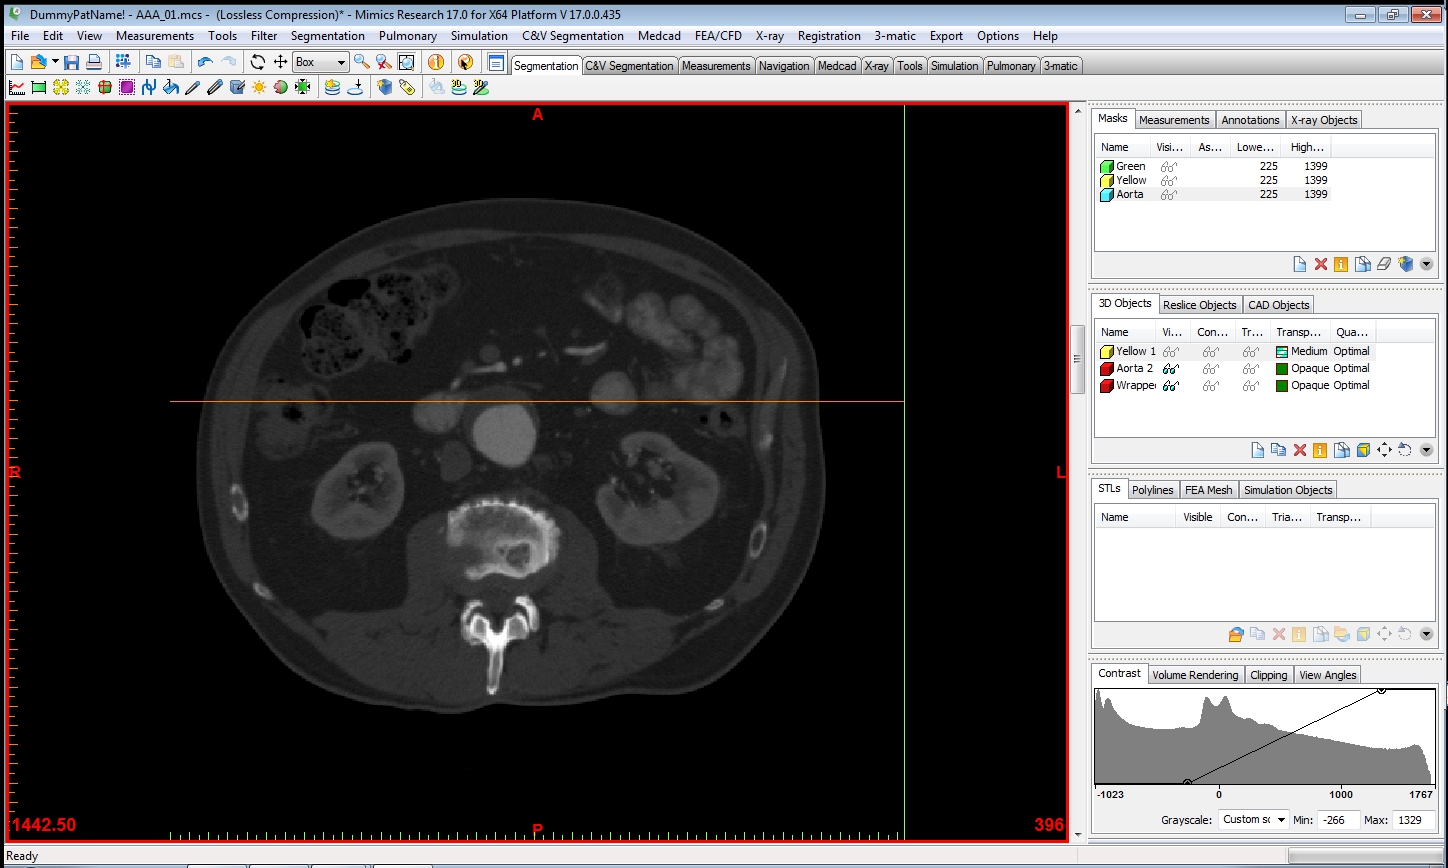
Thresholding is then performed to isolate the tissues in question, based on its Hounsfield units, a measurement of X-ray density.

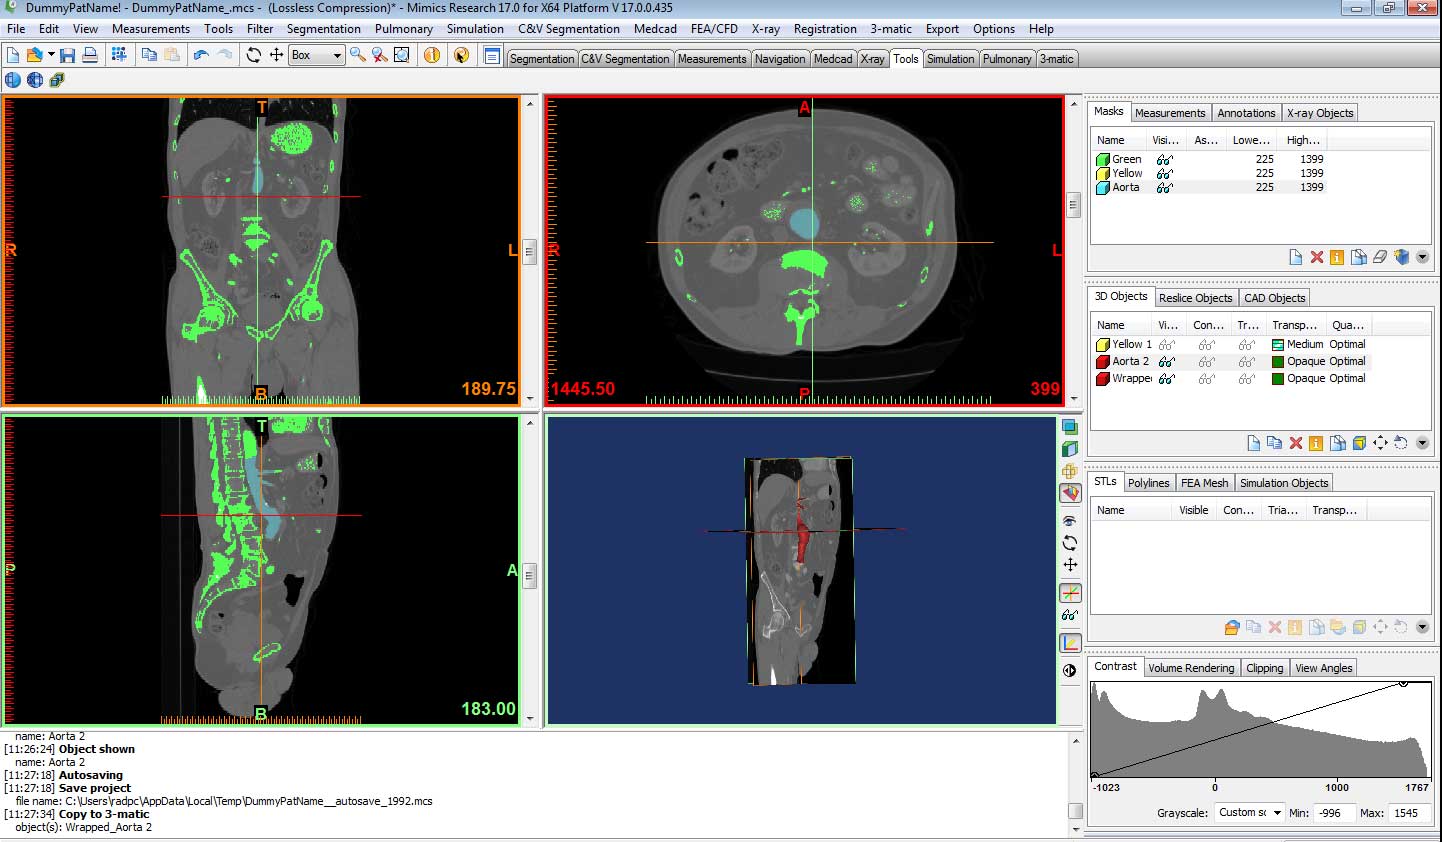
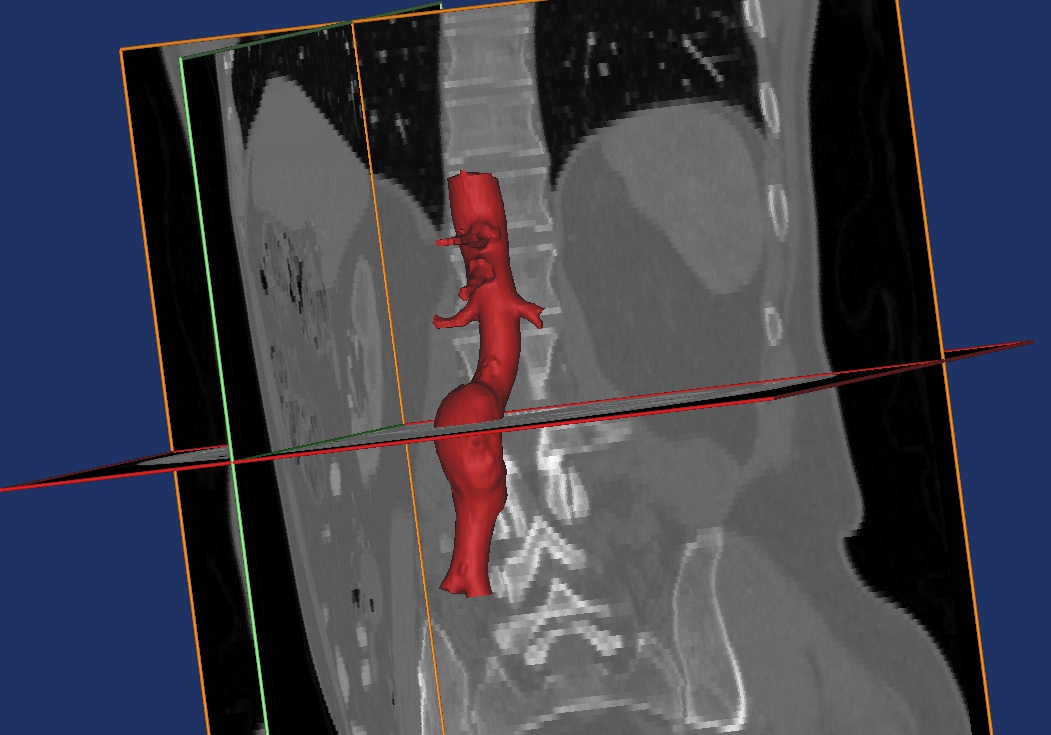
The particular anatomy of interest is then selected using “region growing” tools
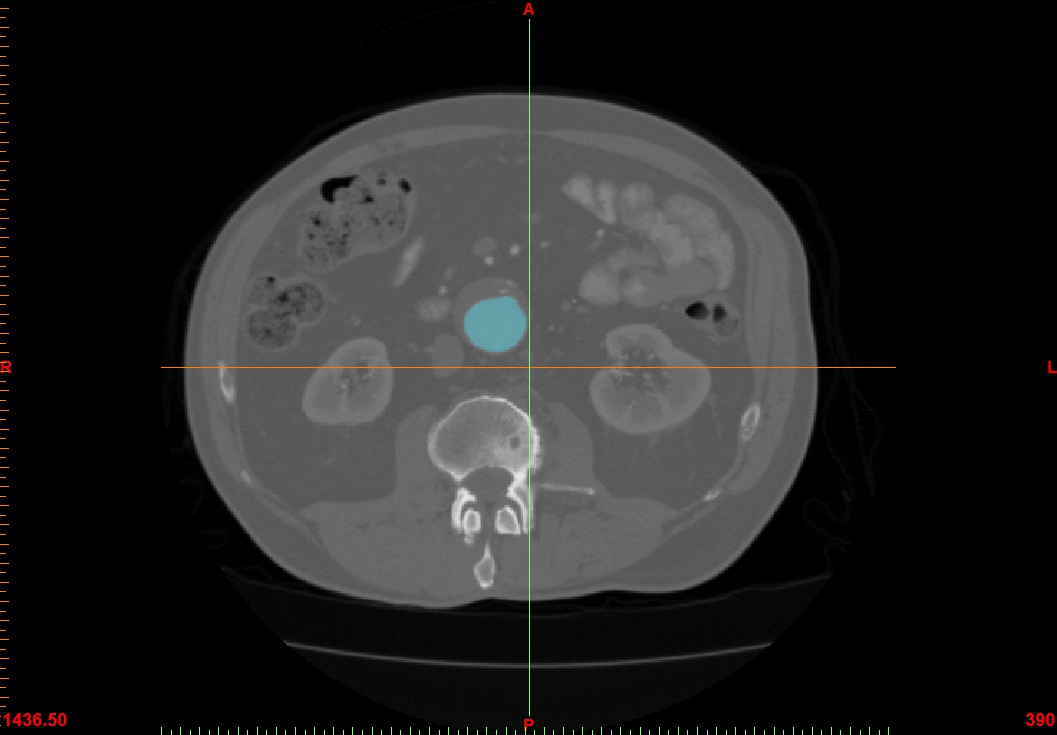
and a 3D model is generated.
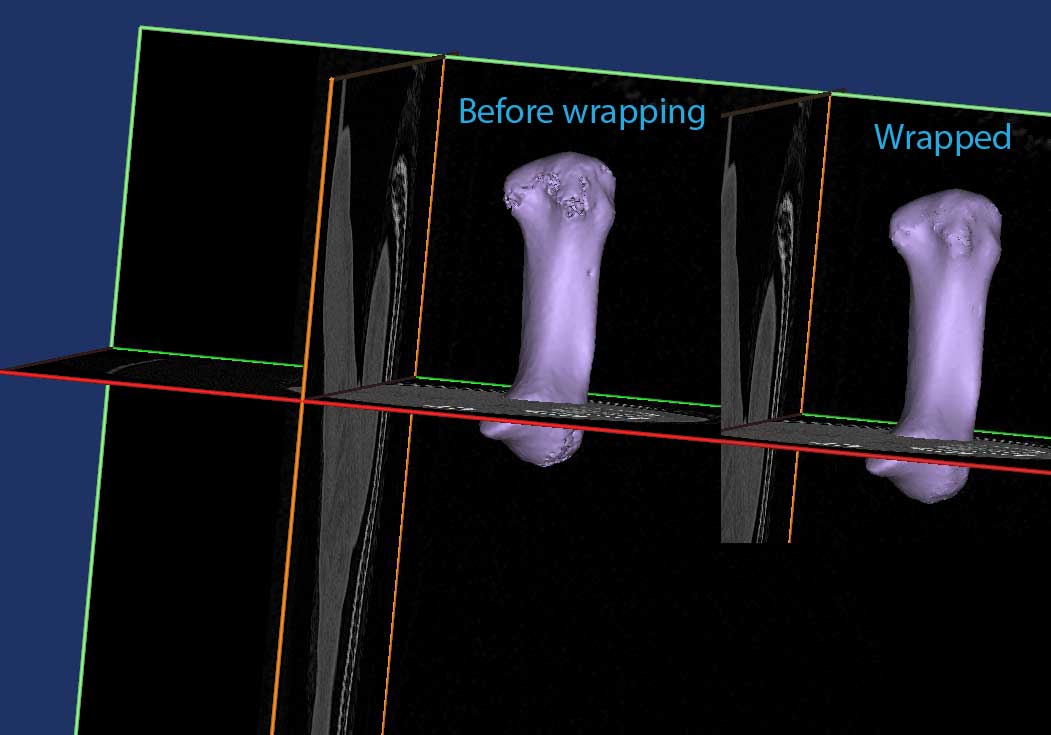
The model is then “wrapped”, to account for the individual CT slices, and to smooth any gaps in the 3D mesh.
Choosing the degree of wrapping is where experience comes into play. Too little wrapping can cause gaps to be present on your final models. Too much, and detail can be lost.
The 3D model is then exported into the 3-matic program for “local smoothing” of the model. The digital model is then hollowed, depending on the structure and its use.
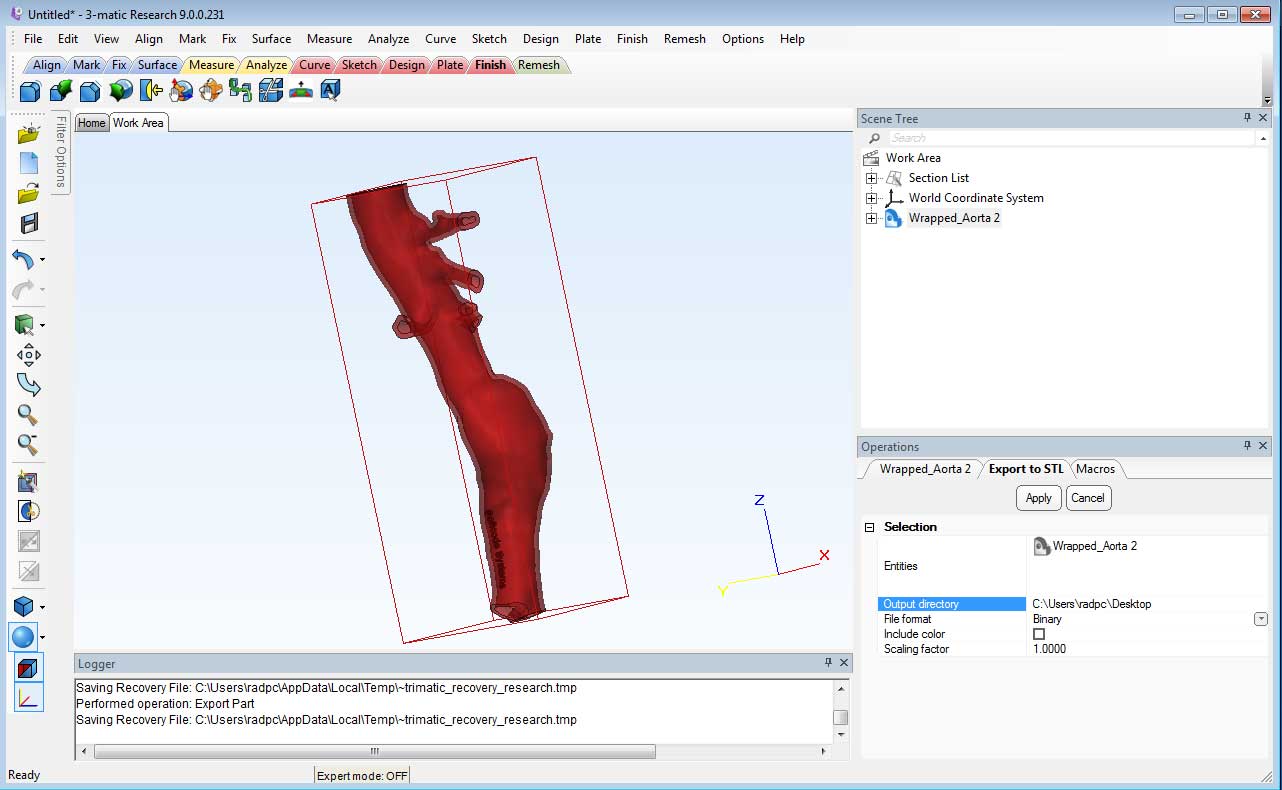
You then export it as a binary STL file.
In all of the steps above, clinical knowledge of the anatomy is extremely helpful in creating the most accurate models possible. Understanding how the models will be used informs your decisions in their creation.
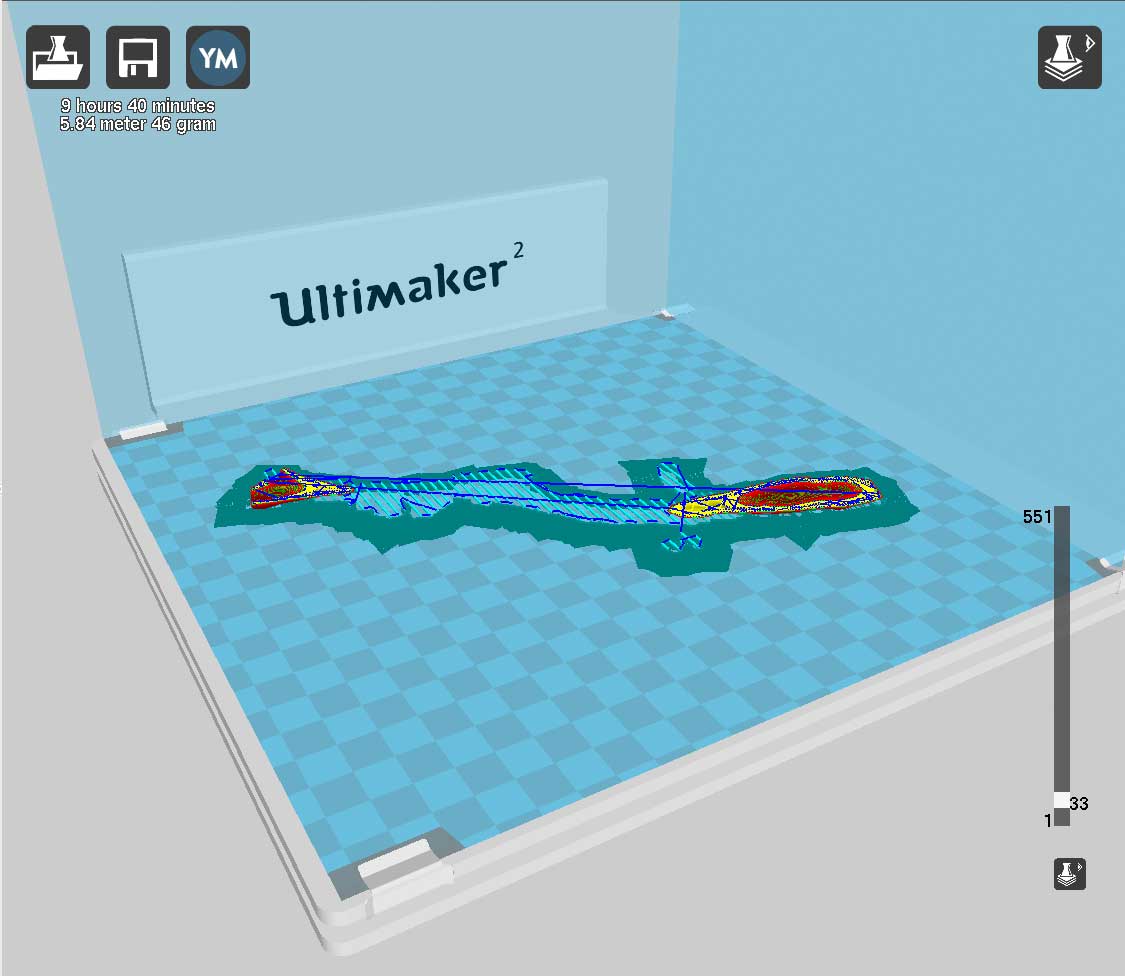
The STL file is then imported into a slicing software to create the G-code files that instruct the printer how to actually create the physical model. I used the open source Cura software for the generation of the G-code for the printer. An image of the 3D model is seen superimposed in a representation of the build plate of the particular printer, in my case the Ultimaker 2 (Ultimaker B.V.). The model can be rotated to optimize the printing process. The highest resolution of current 3D prints from fused filament printers is in the z-direction: from the bottom on the build plate to the top of the object.
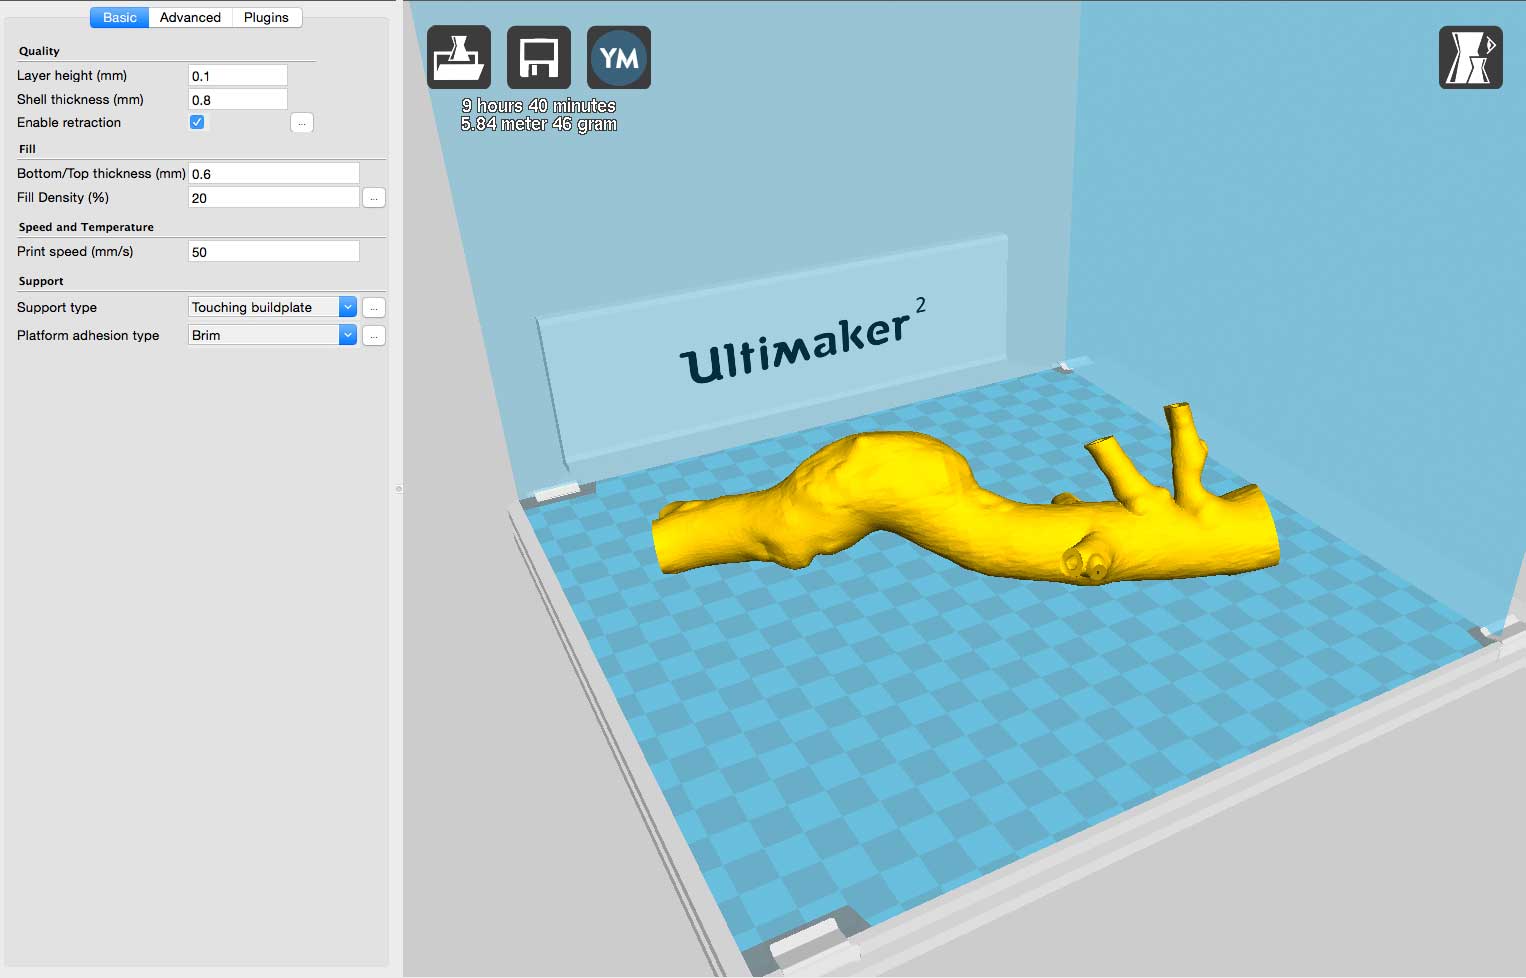
The degree of overhang must also be taken into account. Since the filament cannot be deposited in thin air, the slicing software creates a scaffold to support the overhanging material. Keep in mind; this support structure must be physically removed in post-processing. The slicing software also creates a thin base layer of the material (called a brim or raft) that is deposited around the object to facilitate print adherence to the print platform.
The generated G-code is saved to an SD card, which is then placed into the printer. In some cases, the files can be transferred wirelessly.
I used 2.85 mm PLA filament to create the printed models. PLA is polylactic acid, a biodegradable material derived from cornstarch. PLA based material has been used in orthopedics for sutures, controlled release systems, scaffolding for cartilage regeneration, and fixation screws. The print time takes several hours, depending on the size and complexity of the model, as well as the amount of support structure used. Through trial and error, I found that careful positioning of the 3D model on the virtual build plate can potentially shorten the length of printing time.
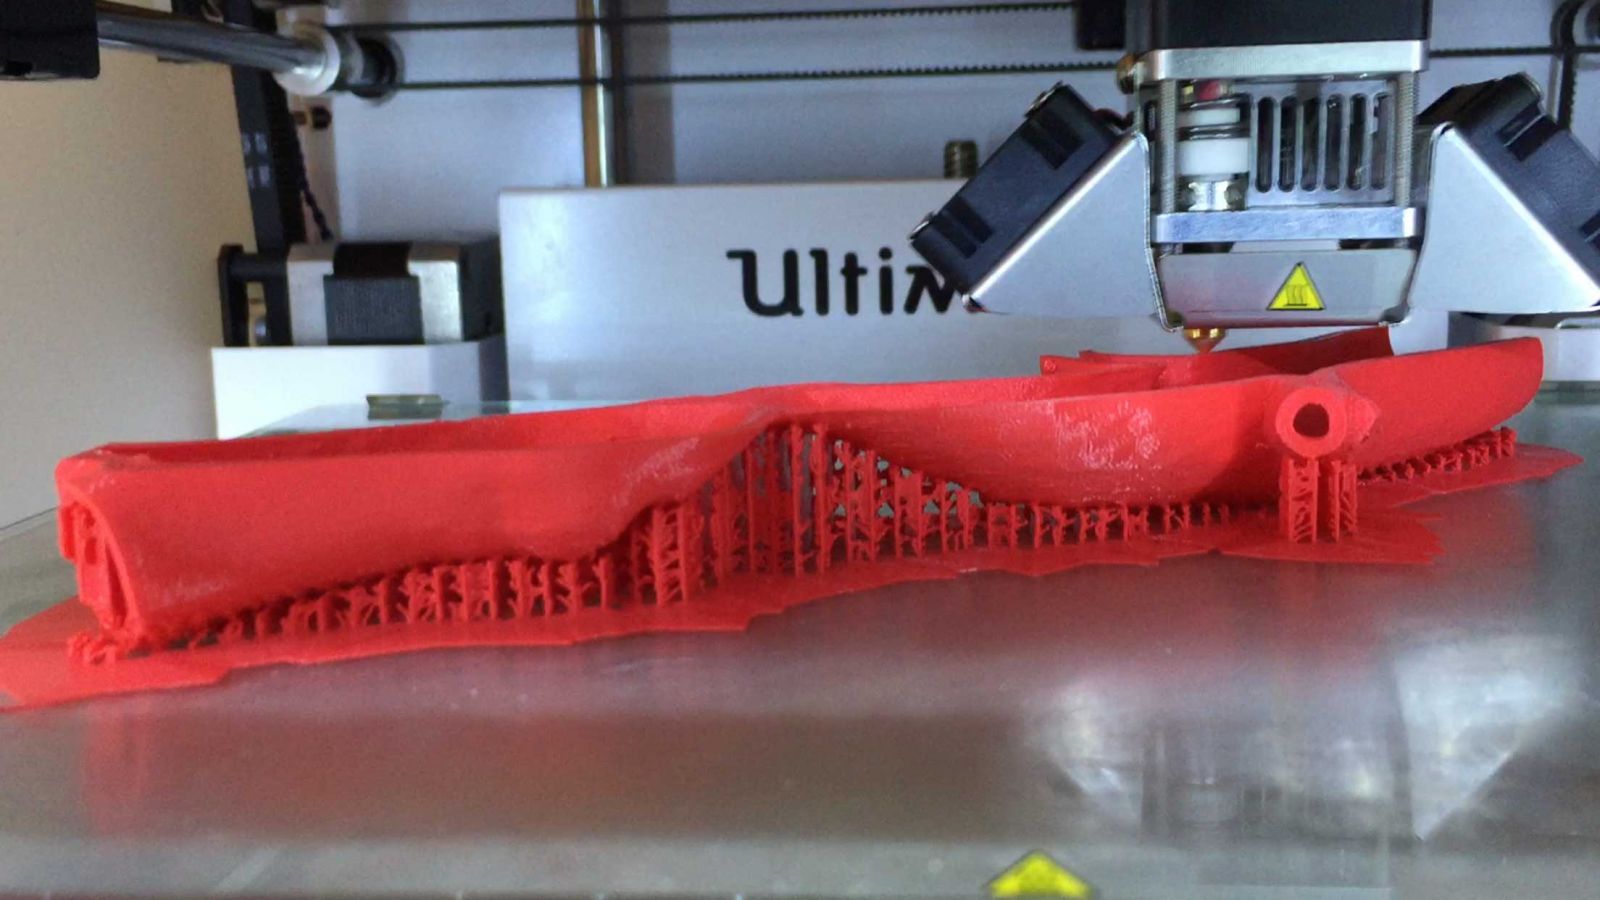
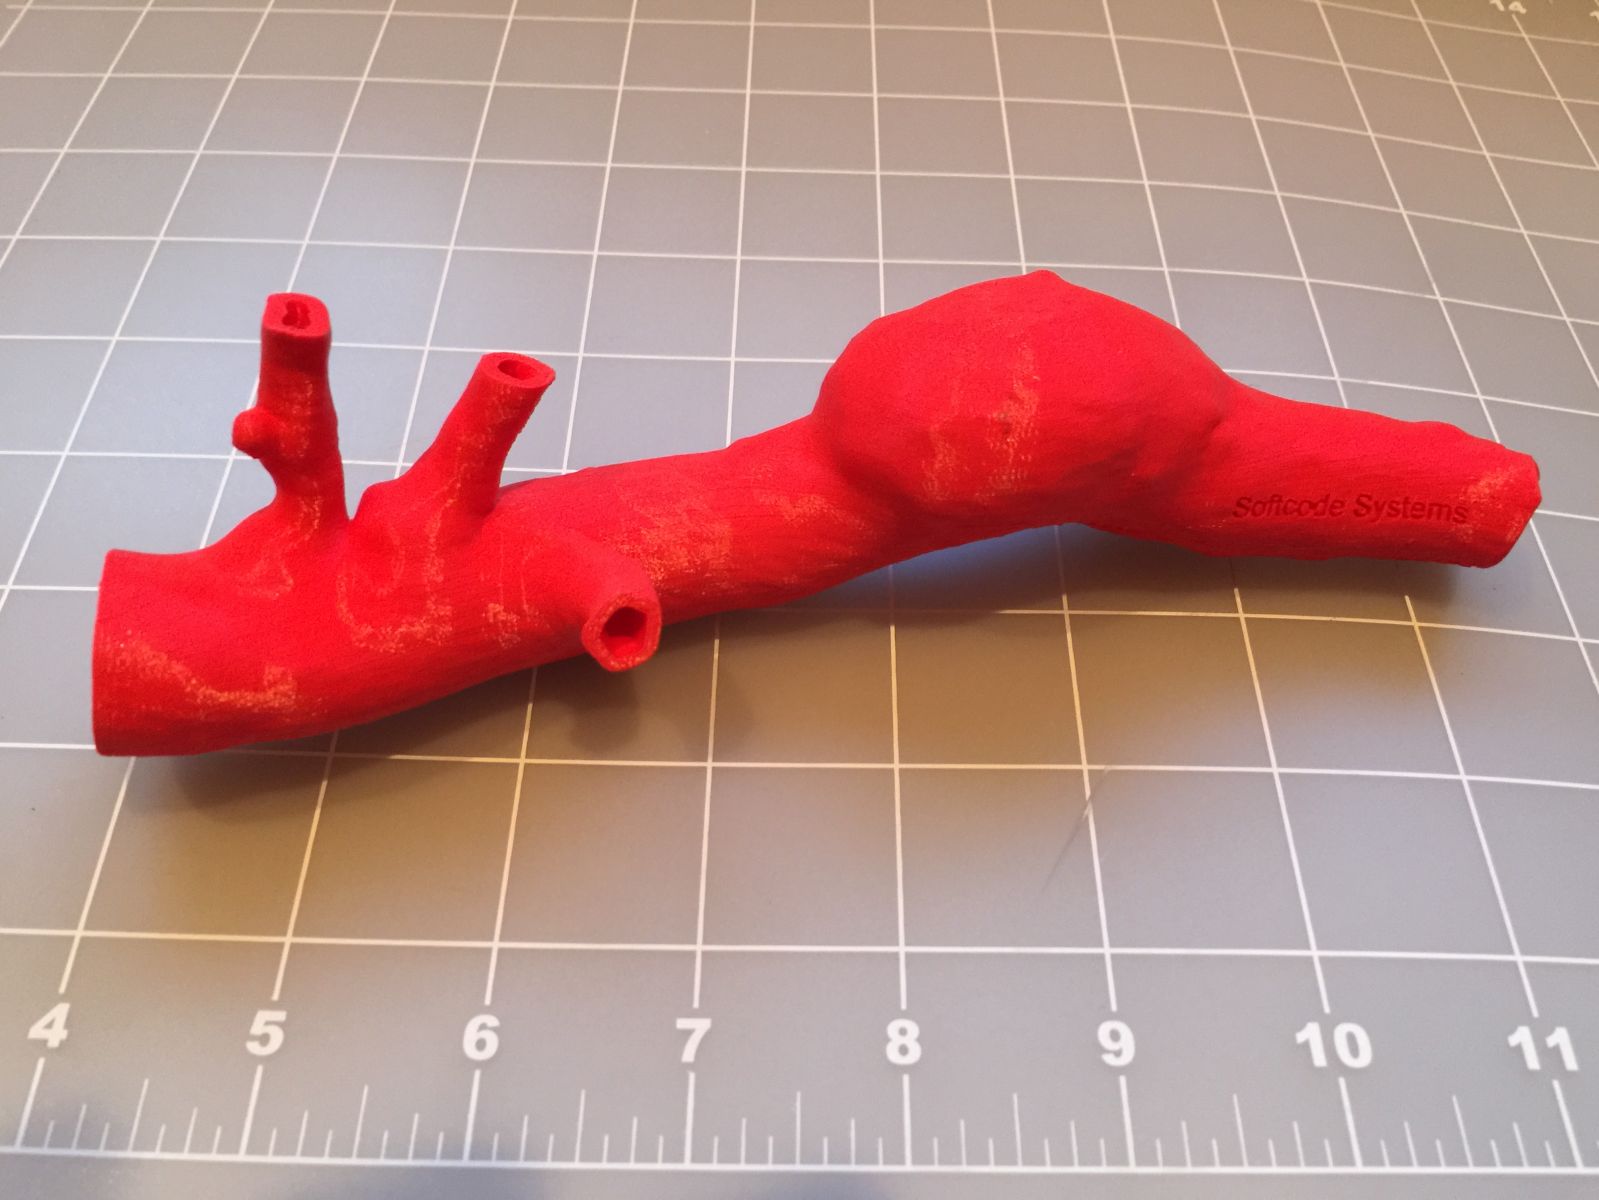
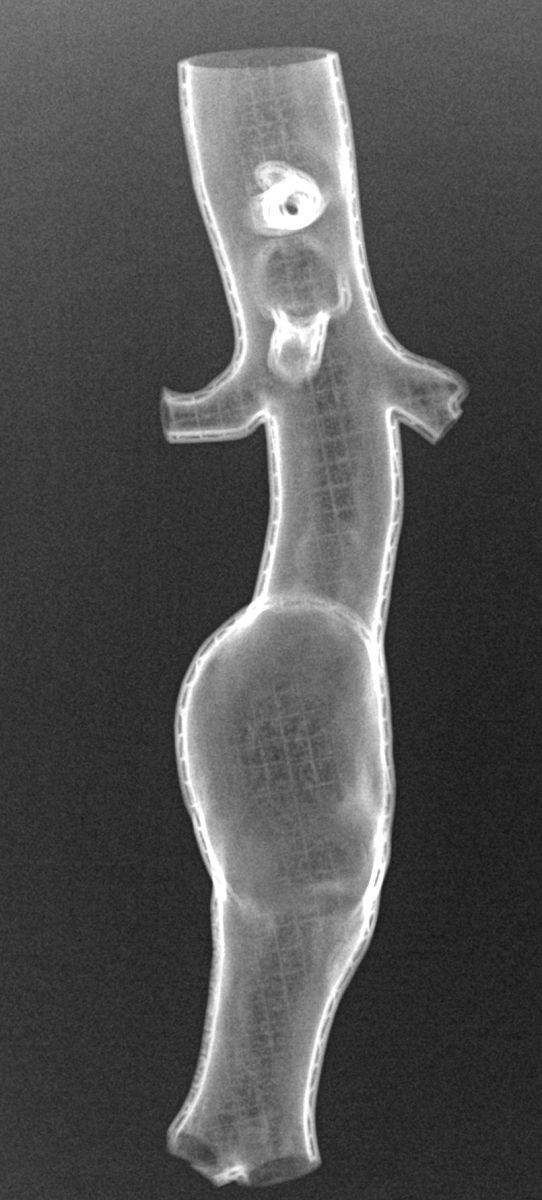
A full-scale hollow abdominal aortic aneurysm model took about 9 hours to print, while a full-scale scapula took 13 hours. A life-size pediatric skull will take approximately 23 hours to print!
The use of 3D printing in medicine presents enormous potential. Exponential development of many new applications will occur if researchers, students and clinicians have access to small-scale 3D printers for prototyping new devices and procedures. The future is only limited by the imagination. A method of reimbursement wouldn’t hurt either.
I would like to thank Frank Rybicki, MD, Professor and Chair of Radiology, University of Ottawa, and his team from the Applied Imaging Science Laboratory at Brigham and Women's Hospital for their great 3D Printing Hands-on courses at RSNA 2014.
Copyright ©2015 Eric M. Baumel, MD


5 Comments
Recommended Comments
Create an account or sign in to comment
You need to be a member in order to leave a comment
Create an account
Sign up for a new account in our community. It's easy!
Register a new accountSign in
Already have an account? Sign in here.
Sign In Now